Installing Ruby and Rails on Windows (for Rails Girls)
Disclaimer
I have this guide working for computers with Windows 7 and 8 (in 2018) updating and cherrypicking the contents from this guide.
This is not a professional set up since im not getting the lastest versions of most of the things but should be enough for this workshop.
Installing Ruby
In order to get ruby on your machine you will need to download the RubyInstaller
For that I recommend using ruby 2.3.3. It’s not the newest version but it’s the one that I find less of a pain to use on windows.
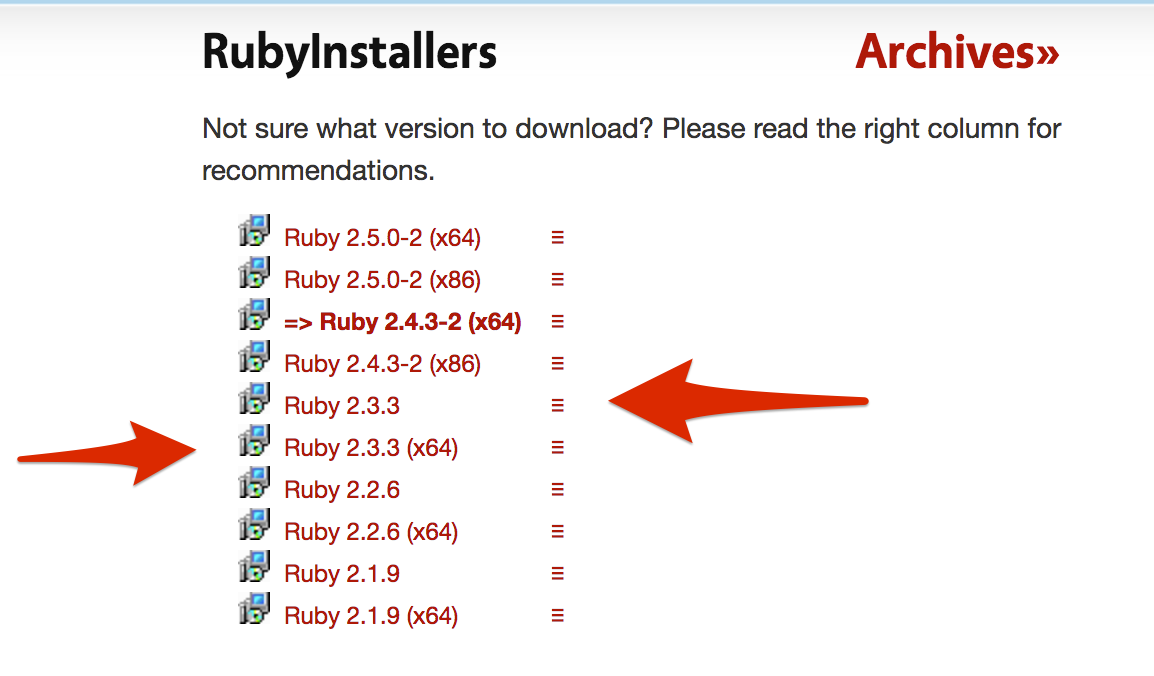
you will find 2 installers as shown on the image, you need to pick the right one for the machine your are working with (depending on if it’s 64bit or 32bit), a good way to do this is to do windows + R (the windows key), that will prompt a small search bar and type there cmd to open the command line (or open the command line directly if you know how to do it) and type dxdiag that will open a window where you can see which system is running.
Remember to leave the default installation path so it will create a folder C:/Ruby23 that we will need later
note that here you can download either a compressed version of the installer or an .exe file I recommend the .exe because it will give you the option to add ruby to your PATH otherwise you will have to do it manually from the control panel
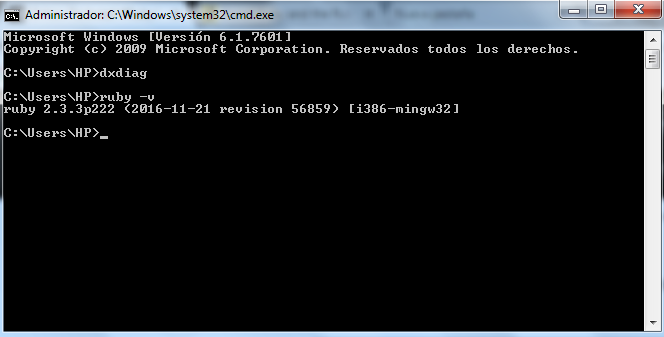
After that you should be able to call ruby on your cmd
Installing the development kit
On the same page where you got your ruby installer you can get the devkit installer
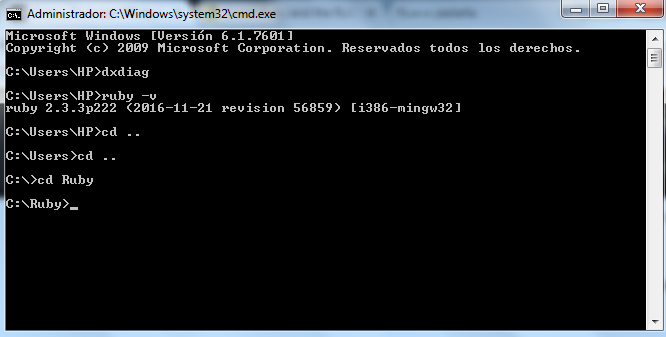
Once you download and execute the .exe it will ask for an extract path. I recommend using something simple like C:/RubyDevKit so you can navigate there easily (if you are like me and dont know your way around with the windows cmd, cd.. will send you one directory back just as in unix and dir will show you the content of the directory you are currenlty in, similar to what ls does)
So you navigate to where you extracted the devkit (If you did C:/RubyDevKit you can just do cd until you get to C:/ and then cd RubyDevKit)
note: in my case i installed it on C:/Ruby
there you will find a dk.rb file with that file we will init the devkit
ruby dk.rb init
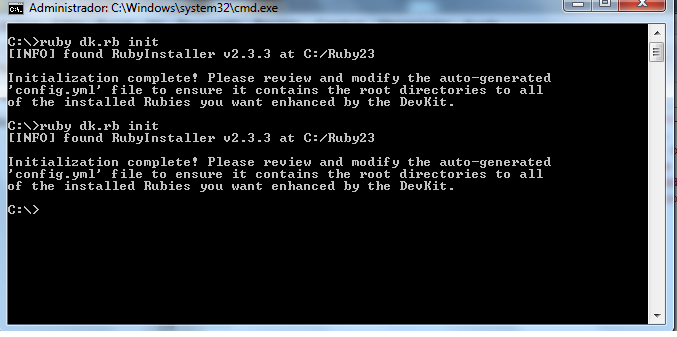
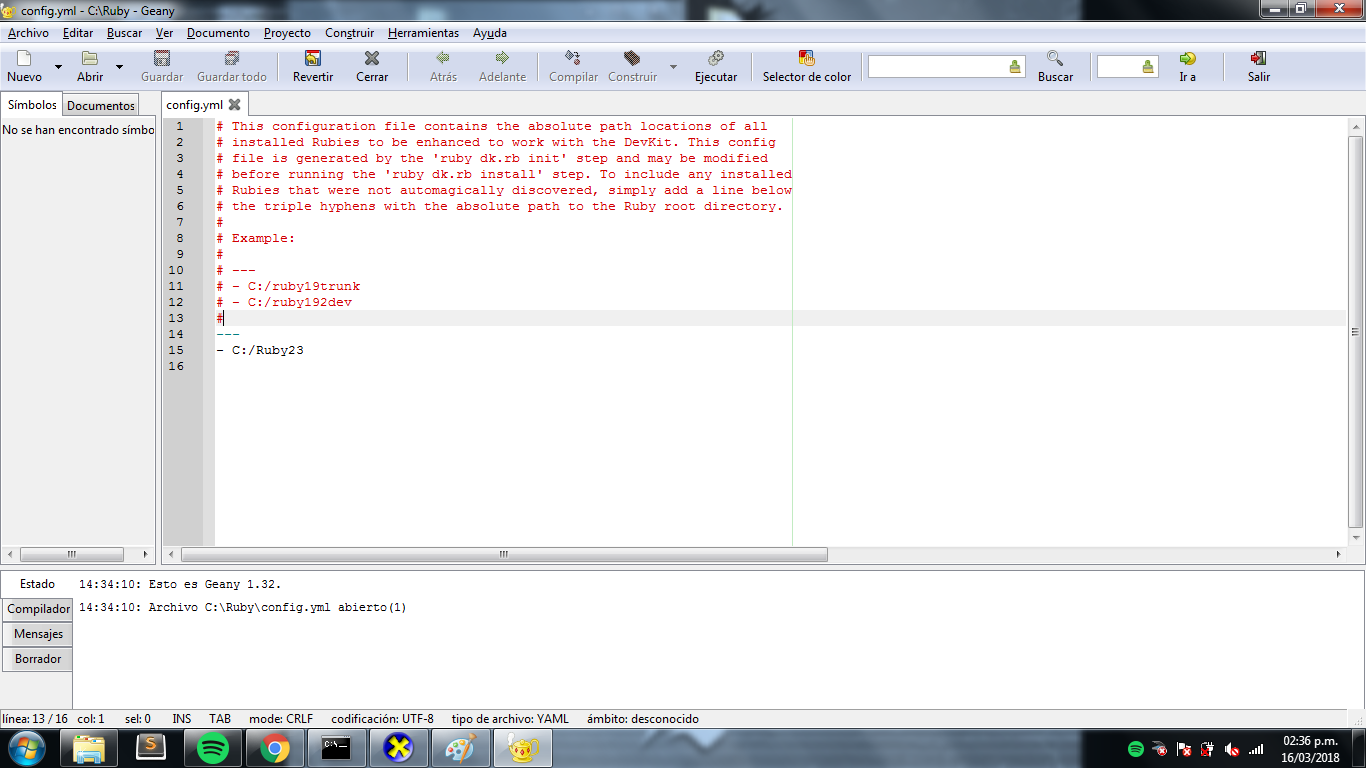
that will create a config.yml In which we will need to point our ruby
After that is set you will need to run
ruby dk.rb install
and that should be it for that.
Installing rubygems
You can get the ruby gem installer from here
After downloading uncompress the zip file and cmd there (I recommend download it to C:/ for easy access)
once there run
ruby setup.rb
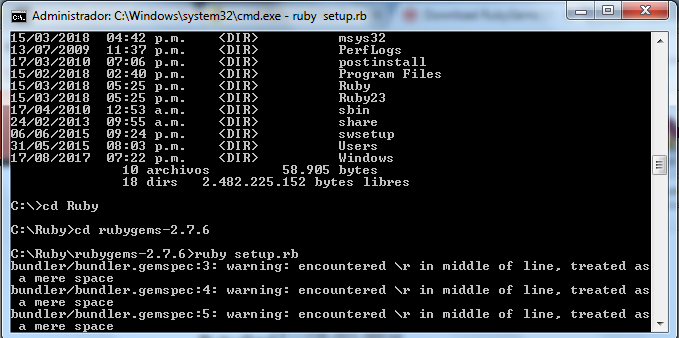
note: don’t mind the warnings if it doesn’t throw any errors it means that it worked!
It will do a lot of stuff and if everything goes well will print
RubyGems installed the following executables:
    C:/Ruby23/bin/gem
    C:/Ruby23/bin/bundle
Installing Rails
It was a long path but now we are on the final steps… to install rails you should be able of just do
gem install rails

on your cmd and should be installed on a few minutes (I recommend use gem install rails --no-ri so it skips the docs, where we’re going we don’t need docs)
Once that’s done let’s go to our final step!
Create your app
rails new myApp
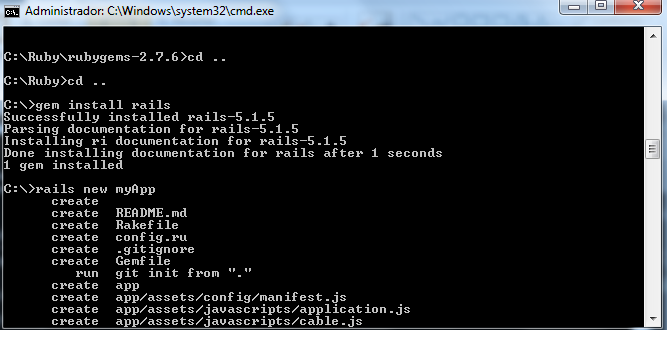
should do the trick!
I hope you found this useful ‘cause you’re on your own from here so good luck and happy hacking!